
요즘 앱을 사용하다 보면 위치 권한을 물어보는 경우가 상당히 많다. 사용자 위치 변화에 따라 특정 정보를 제공하거나 위치 정보 자체를 사용하는 무선 콘텐츠 서비스들이 굉장히 다양하다. React Native에서도 사용자의 위치 좌표를 출력받을 수 있는 라이브러리를 간단히 사용해 볼 수 있었는데, 바로 Geolocation Service이다.
프로젝트 환경 설정
React Native CLI를 사용, 버전은 0.68.2로 설정했다.
# 앱 설치
$ react-native init --version 0.68.2 프로젝트명
안드로이드 에뮬레이터를 통해 진행했다. 디바이스는 기존에 갤럭시 S21로 세팅되어 있으며, 다음 명령어로 프로젝트를 실행했다.
$ react-native run-android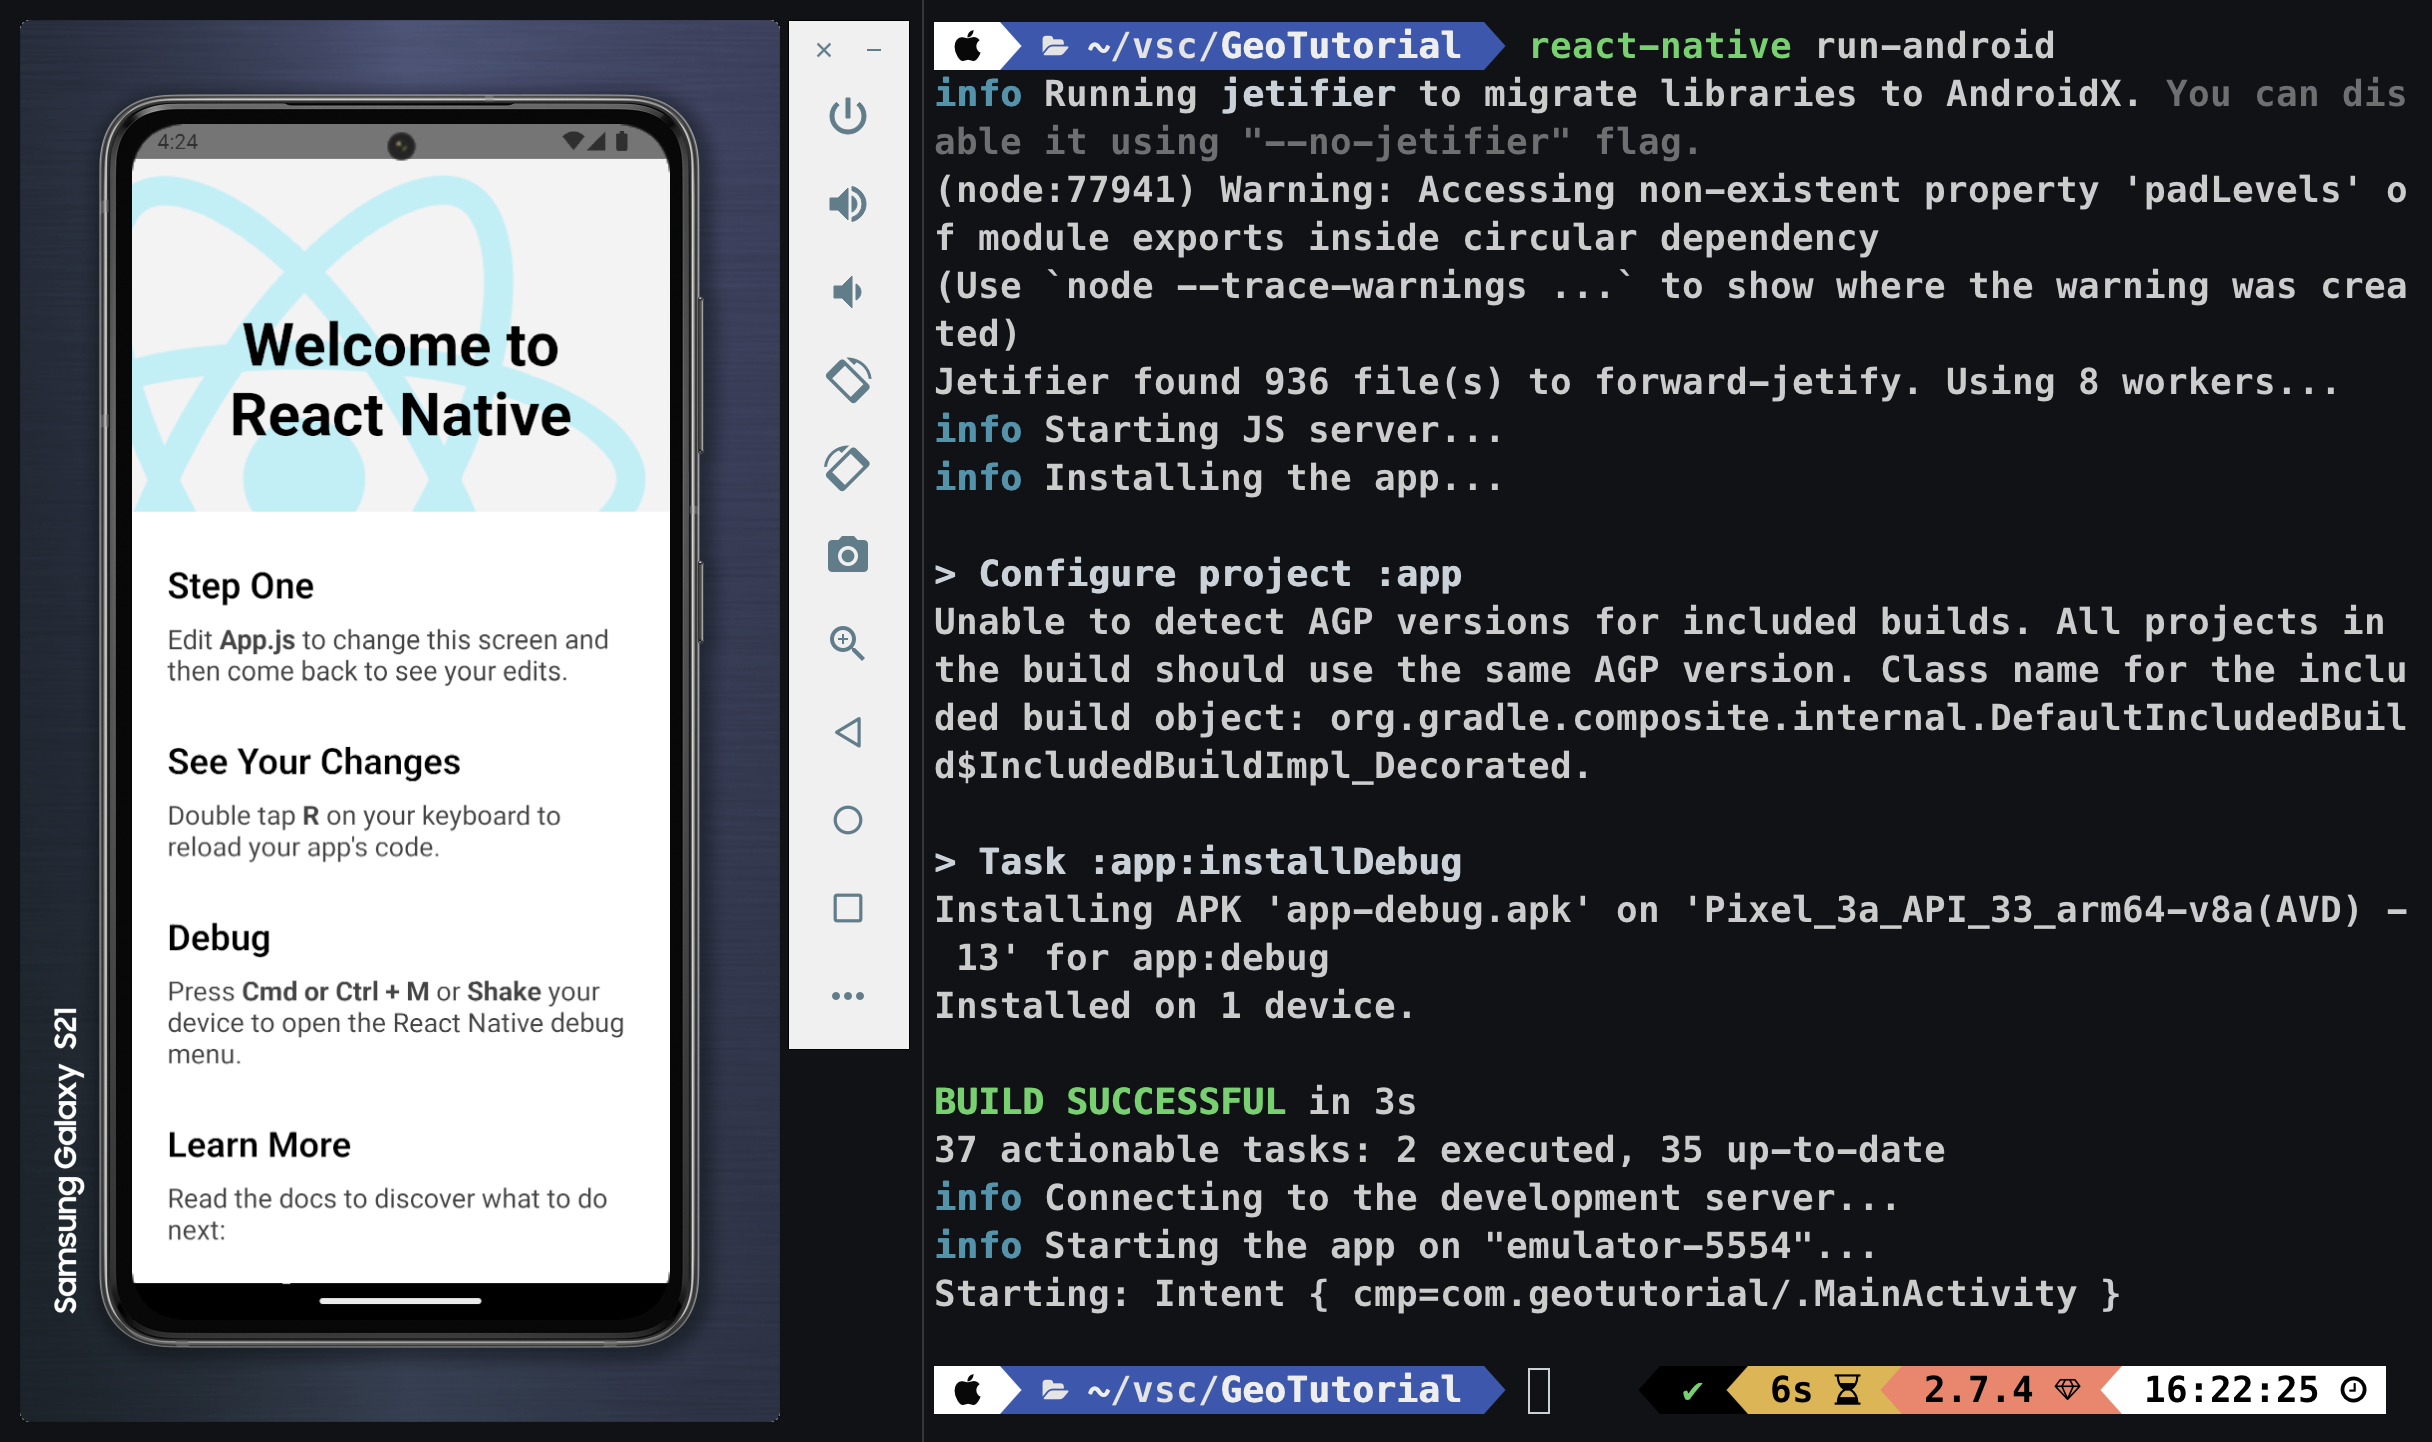
에뮬레이터가 실행되면 위처럼 설정되어 있던 기본 화면이 나온다.
/**
 * Sample React Native App
 * https://github.com/facebook/react-native
 *
 * @format
 * @flow strict-local
 */

import React from "react"
import type { Node } from "react"
import {
  SafeAreaView,
  ScrollView,
  StatusBar,
  StyleSheet,
  Text,
  useColorScheme,
  View,
} from "react-native"

import {
  Colors,
  DebugInstructions,
  Header,
  LearnMoreLinks,
  ReloadInstructions,
} from "react-native/Libraries/NewAppScreen"

const Section = ({ children, title }): Node => {
  const isDarkMode = useColorScheme() === "dark"
  return (
    <View style={styles.sectionContainer}>
      <Text
        style={[
          styles.sectionTitle,
          {
            color: isDarkMode ? Colors.white : Colors.black,
          },
        ]}
      >
        {title}
      </Text>
      <Text
        style={[
          styles.sectionDescription,
          {
            color: isDarkMode ? Colors.light : Colors.dark,
          },
        ]}
      >
        {children}
      </Text>
    </View>
  )
}

const App: () => Node = () => {
  const isDarkMode = useColorScheme() === "dark"

  const backgroundStyle = {
    backgroundColor: isDarkMode ? Colors.darker : Colors.lighter,
  }

  return (
    <SafeAreaView style={backgroundStyle}>
      <StatusBar barStyle={isDarkMode ? "light-content" : "dark-content"} />
      <ScrollView
        contentInsetAdjustmentBehavior="automatic"
        style={backgroundStyle}
      >
        <Header />
        <View
          style={{
            backgroundColor: isDarkMode ? Colors.black : Colors.white,
          }}
        >
          <Section title="Step One">
            Edit <Text style={styles.highlight}>App.js</Text> to change this
            screen and then come back to see your edits.
          </Section>
          <Section title="See Your Changes">
            <ReloadInstructions />
          </Section>
          <Section title="Debug">
            <DebugInstructions />
          </Section>
          <Section title="Learn More">
            Read the docs to discover what to do next:
          </Section>
          <LearnMoreLinks />
        </View>
      </ScrollView>
    </SafeAreaView>
  )
}

const styles = StyleSheet.create({
  sectionContainer: {
    marginTop: 32,
    paddingHorizontal: 24,
  },
  sectionTitle: {
    fontSize: 24,
    fontWeight: "600",
  },
  sectionDescription: {
    marginTop: 8,
    fontSize: 18,
    fontWeight: "400",
  },
  highlight: {
    fontWeight: "700",
  },
})

export default App
기본적으로 생성된 App.js 파일이다. 코드를 다음과 같이 정리해 주었다.
import React from "react"
import { View, Text, StyleSheet } from "react-native"

const App = () => {
  return (
    <View>
      <Text style={styles.title}>Geolocation Tutorial</Text>
    </View>
  )
}

const styles = StyleSheet.create({
  title: {
    textAlign: "center",
    fontSize: 25,
    margin: 15,
    color: "black",
    fontWeight: "600",
  },
})

export default App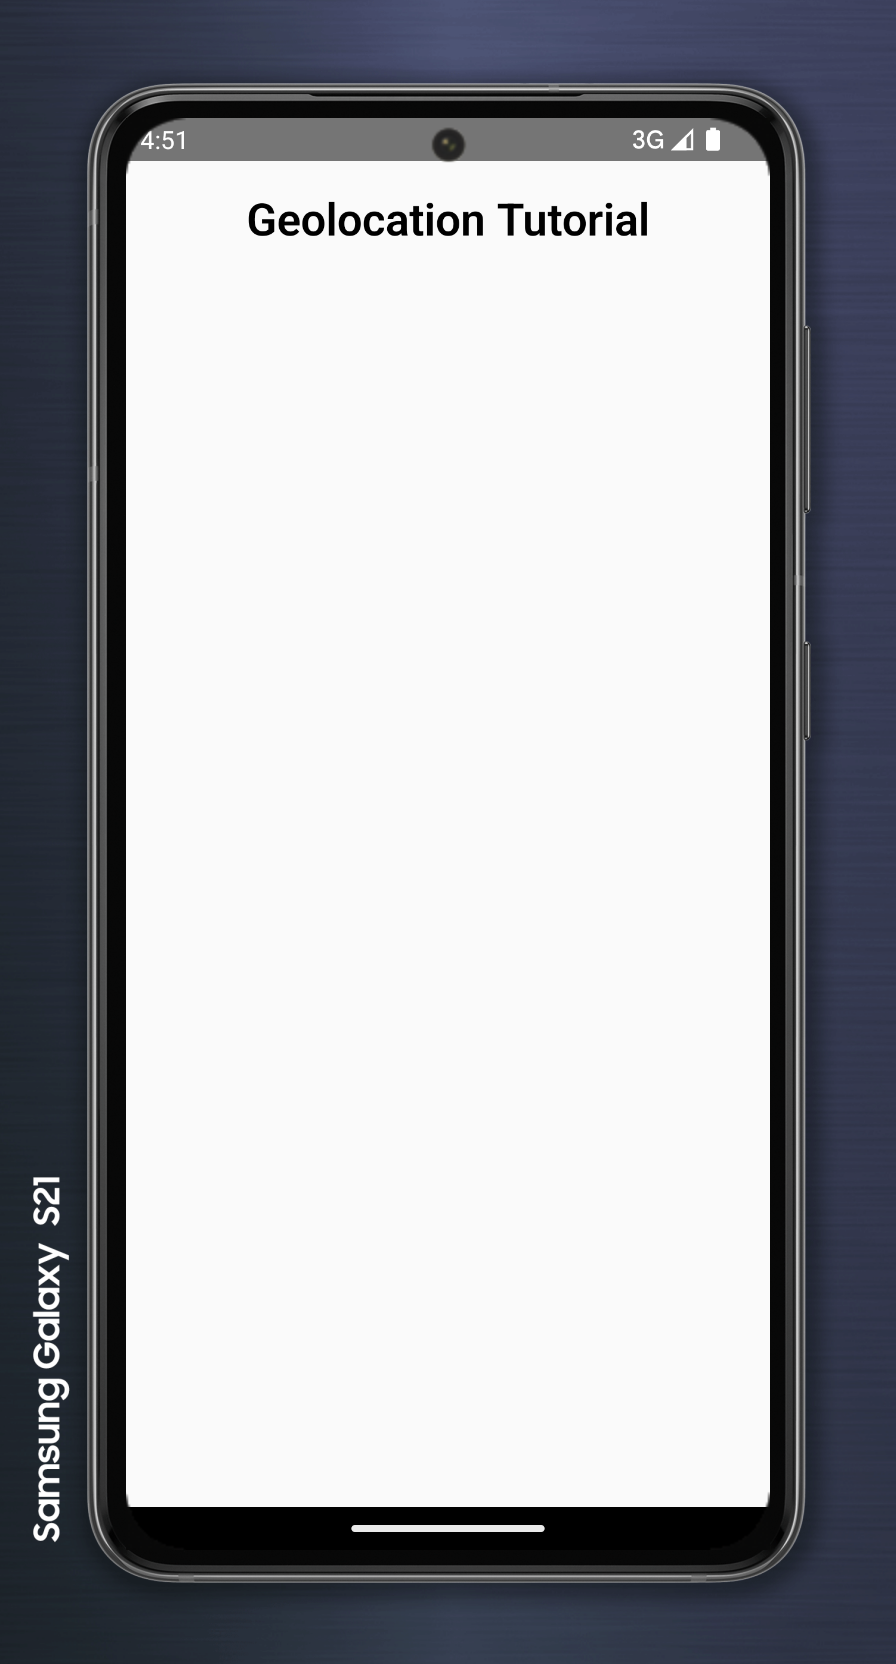
Geolocation Service
모바일 디바이스의 현재 위치 좌표 값을 얻기 위해서는 Geolocation Service라는 라이브러리를 사용한다.
$ yarn add react-native-geolocation-service이 기능은 위치 정보를 얻는 민감한 기능에 해당하므로 사용자의 동의를 받는 절차를 생성해야 한다. 안드로이드에서 제공하는 권한 부여 방식은 android/app/src/main/AndroidManifest.xml 에서 다음 코드를 추가하면 된다.
<uses-permission android:name="android.permission.ACCESS_COARSE_LOCATION" />
<uses-permission android:name="android.permission.ACCESS_FINE_LOCATION" />
이제 Geolocation Service를 통해 얻은 좌표를 앱에 출력해보자. 먼저 권한 요청을 처리해주는 코드를 작성했다.
useEffect(() => {
  if (Platform.OS === "android") {
    PermissionsAndroid.request(
      PermissionsAndroid.PERMISSIONS.ACCESS_FINE_LOCATION
    )
  }
}, [])
통상적으로 iOS와 안드로이드를 조건문을 통해 권한 처리를 하게 되는데, 현재 프로젝트는 안드로이드 권한 요청 처리만 해 두기로 하였다.
const [currentLocation, setCurrentLocation] = useState(null)

useEffect(() => {
  // 위치 업데이트 설정
  const watchId = Geolocation.watchPosition(
    (position) => {
      const { latitude, longitude } = position.coords
      // currentLocation에 위도, 경도 저장
      setCurrentLocation({ latitude, longitude })
    },
    (error) => {
      console.log(error)
    },
    {
      enableHighAccuracy: true, // 배터리를 더 소모하여 보다 정확한 위치 추적
      timeout: 20000,
      maximumAge: 0, // 한 번 찾은 위치 정보를 해당 초만큼 캐싱
      distanceFilter: 1,
    }
  )

  // 컴포넌트 언마운트 시 위치 업데이트 중지
  return () => {
    Geolocation.clearWatch(watchId)
  }
}, [])
위치 좌표를 얻는 코드이다. 위도(latitude)와 경도(longitude) 값을 받아 currentLocation 변수에 저장하였다. 이를 통해 좌표를 확인해 볼 수 있다.
전체 코드와 출력 결과를 확인해 보면...
import React, { useEffect, useState } from "react"
import { View, Text, StyleSheet, PermissionsAndroid } from "react-native"
import Geolocation from "react-native-geolocation-service"

const App = () => {
  const [currentLocation, setCurrentLocation] = useState(null)

  useEffect(() => {
    if (Platform.OS === "android") {
      PermissionsAndroid.request(
        PermissionsAndroid.PERMISSIONS.ACCESS_FINE_LOCATION
      )
    }
  }, [])

  useEffect(() => {
    const watchId = Geolocation.watchPosition(
      (position) => {
        const { latitude, longitude } = position.coords
        setCurrentLocation({ latitude, longitude })
      },
      (error) => {
        console.log(error)
      },
      {
        enableHighAccuracy: true,
        timeout: 20000,
        maximumAge: 0,
        distanceFilter: 1,
      }
    )

    return () => {
      Geolocation.clearWatch(watchId)
    }
  }, [])

  return (
    <View>
      <Text style={styles.title}>Geolocation Tutorial</Text>
      {currentLocation ? (
        <Text style={styles.title}>
          {currentLocation.latitude} / {currentLocation.longitude}
        </Text>
      ) : (
        <Text style={styles.title}>location undefined</Text>
      )}
    </View>
  )
}

const styles = StyleSheet.create({
  title: {
    textAlign: "center",
    fontSize: 25,
    margin: 15,
    color: "black",
    fontWeight: "600",
  },
})

export default App
|
|
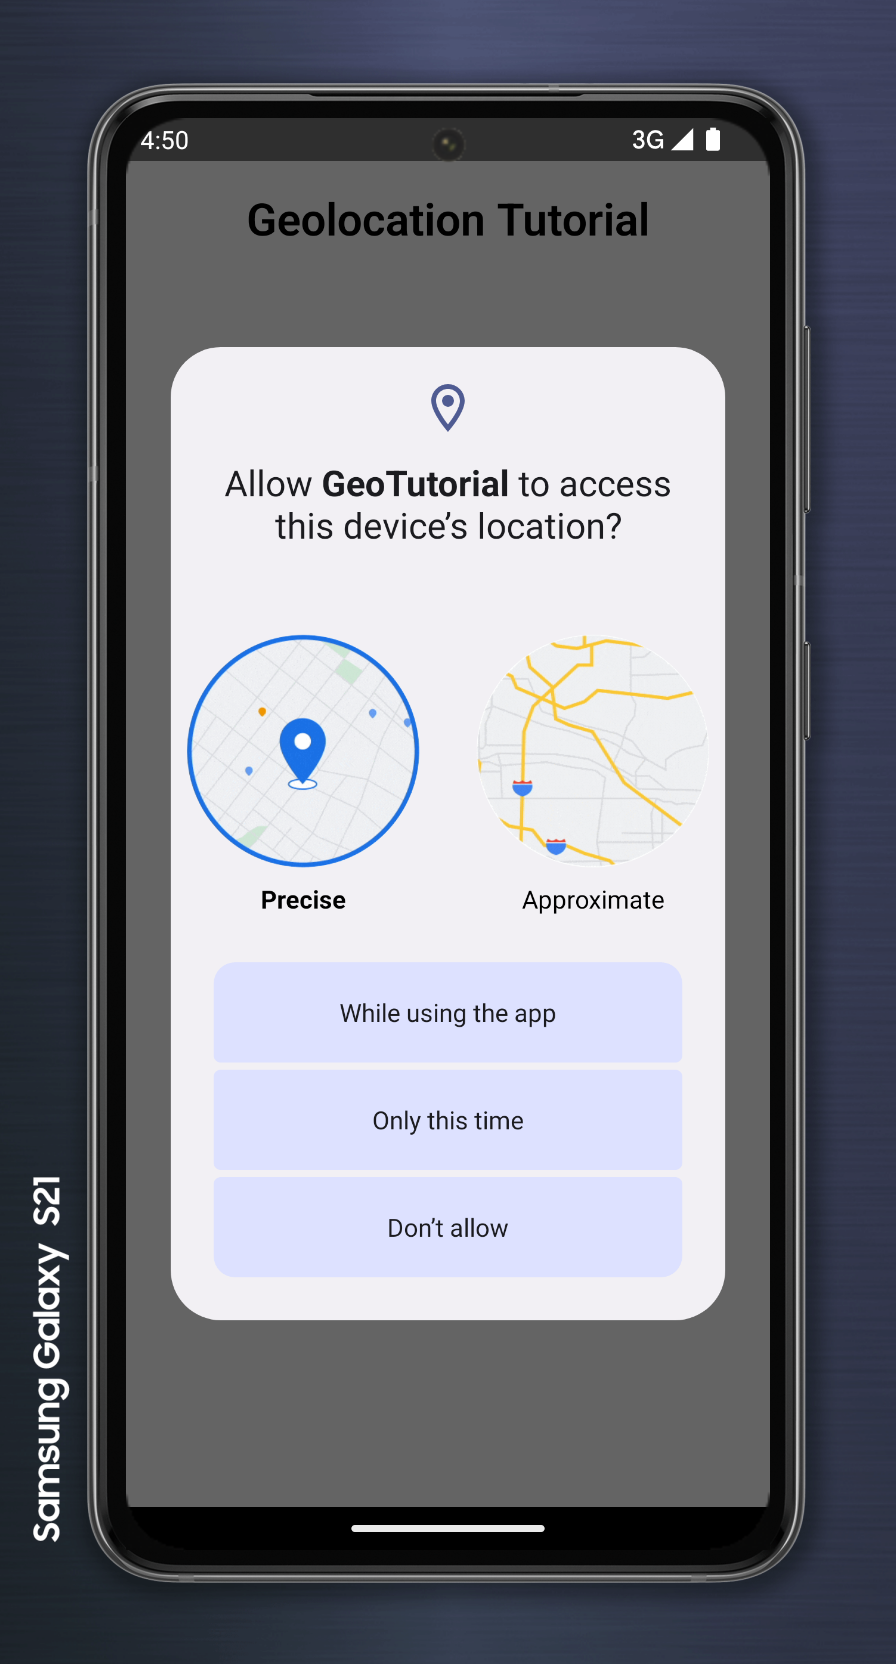
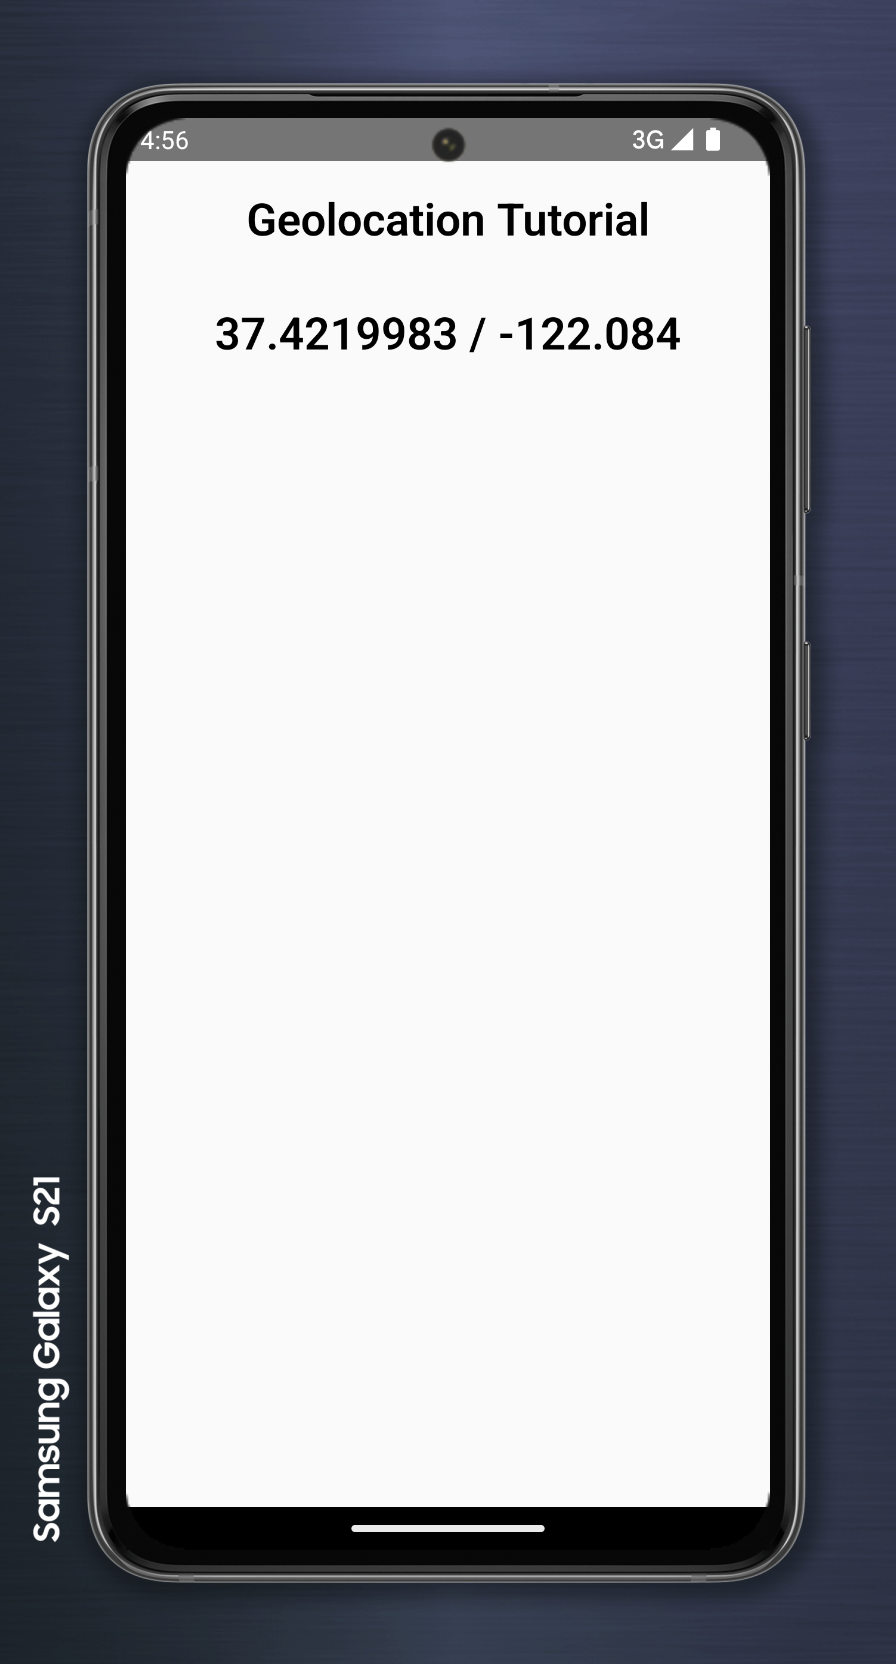
이렇게 위치 정보의 접근하는 메시지가 뜨고, 동의하면 좌표 값이 정상적으로 출력된다.
그런데 실제 모바일 디바이스에서 실행한 것도 아니고 에뮬레이터에 표시된 37.4219983, -122.084 라는 좌표는 뭘까? 이 좌표를 한번 구글 맵에 검색해 보았다.
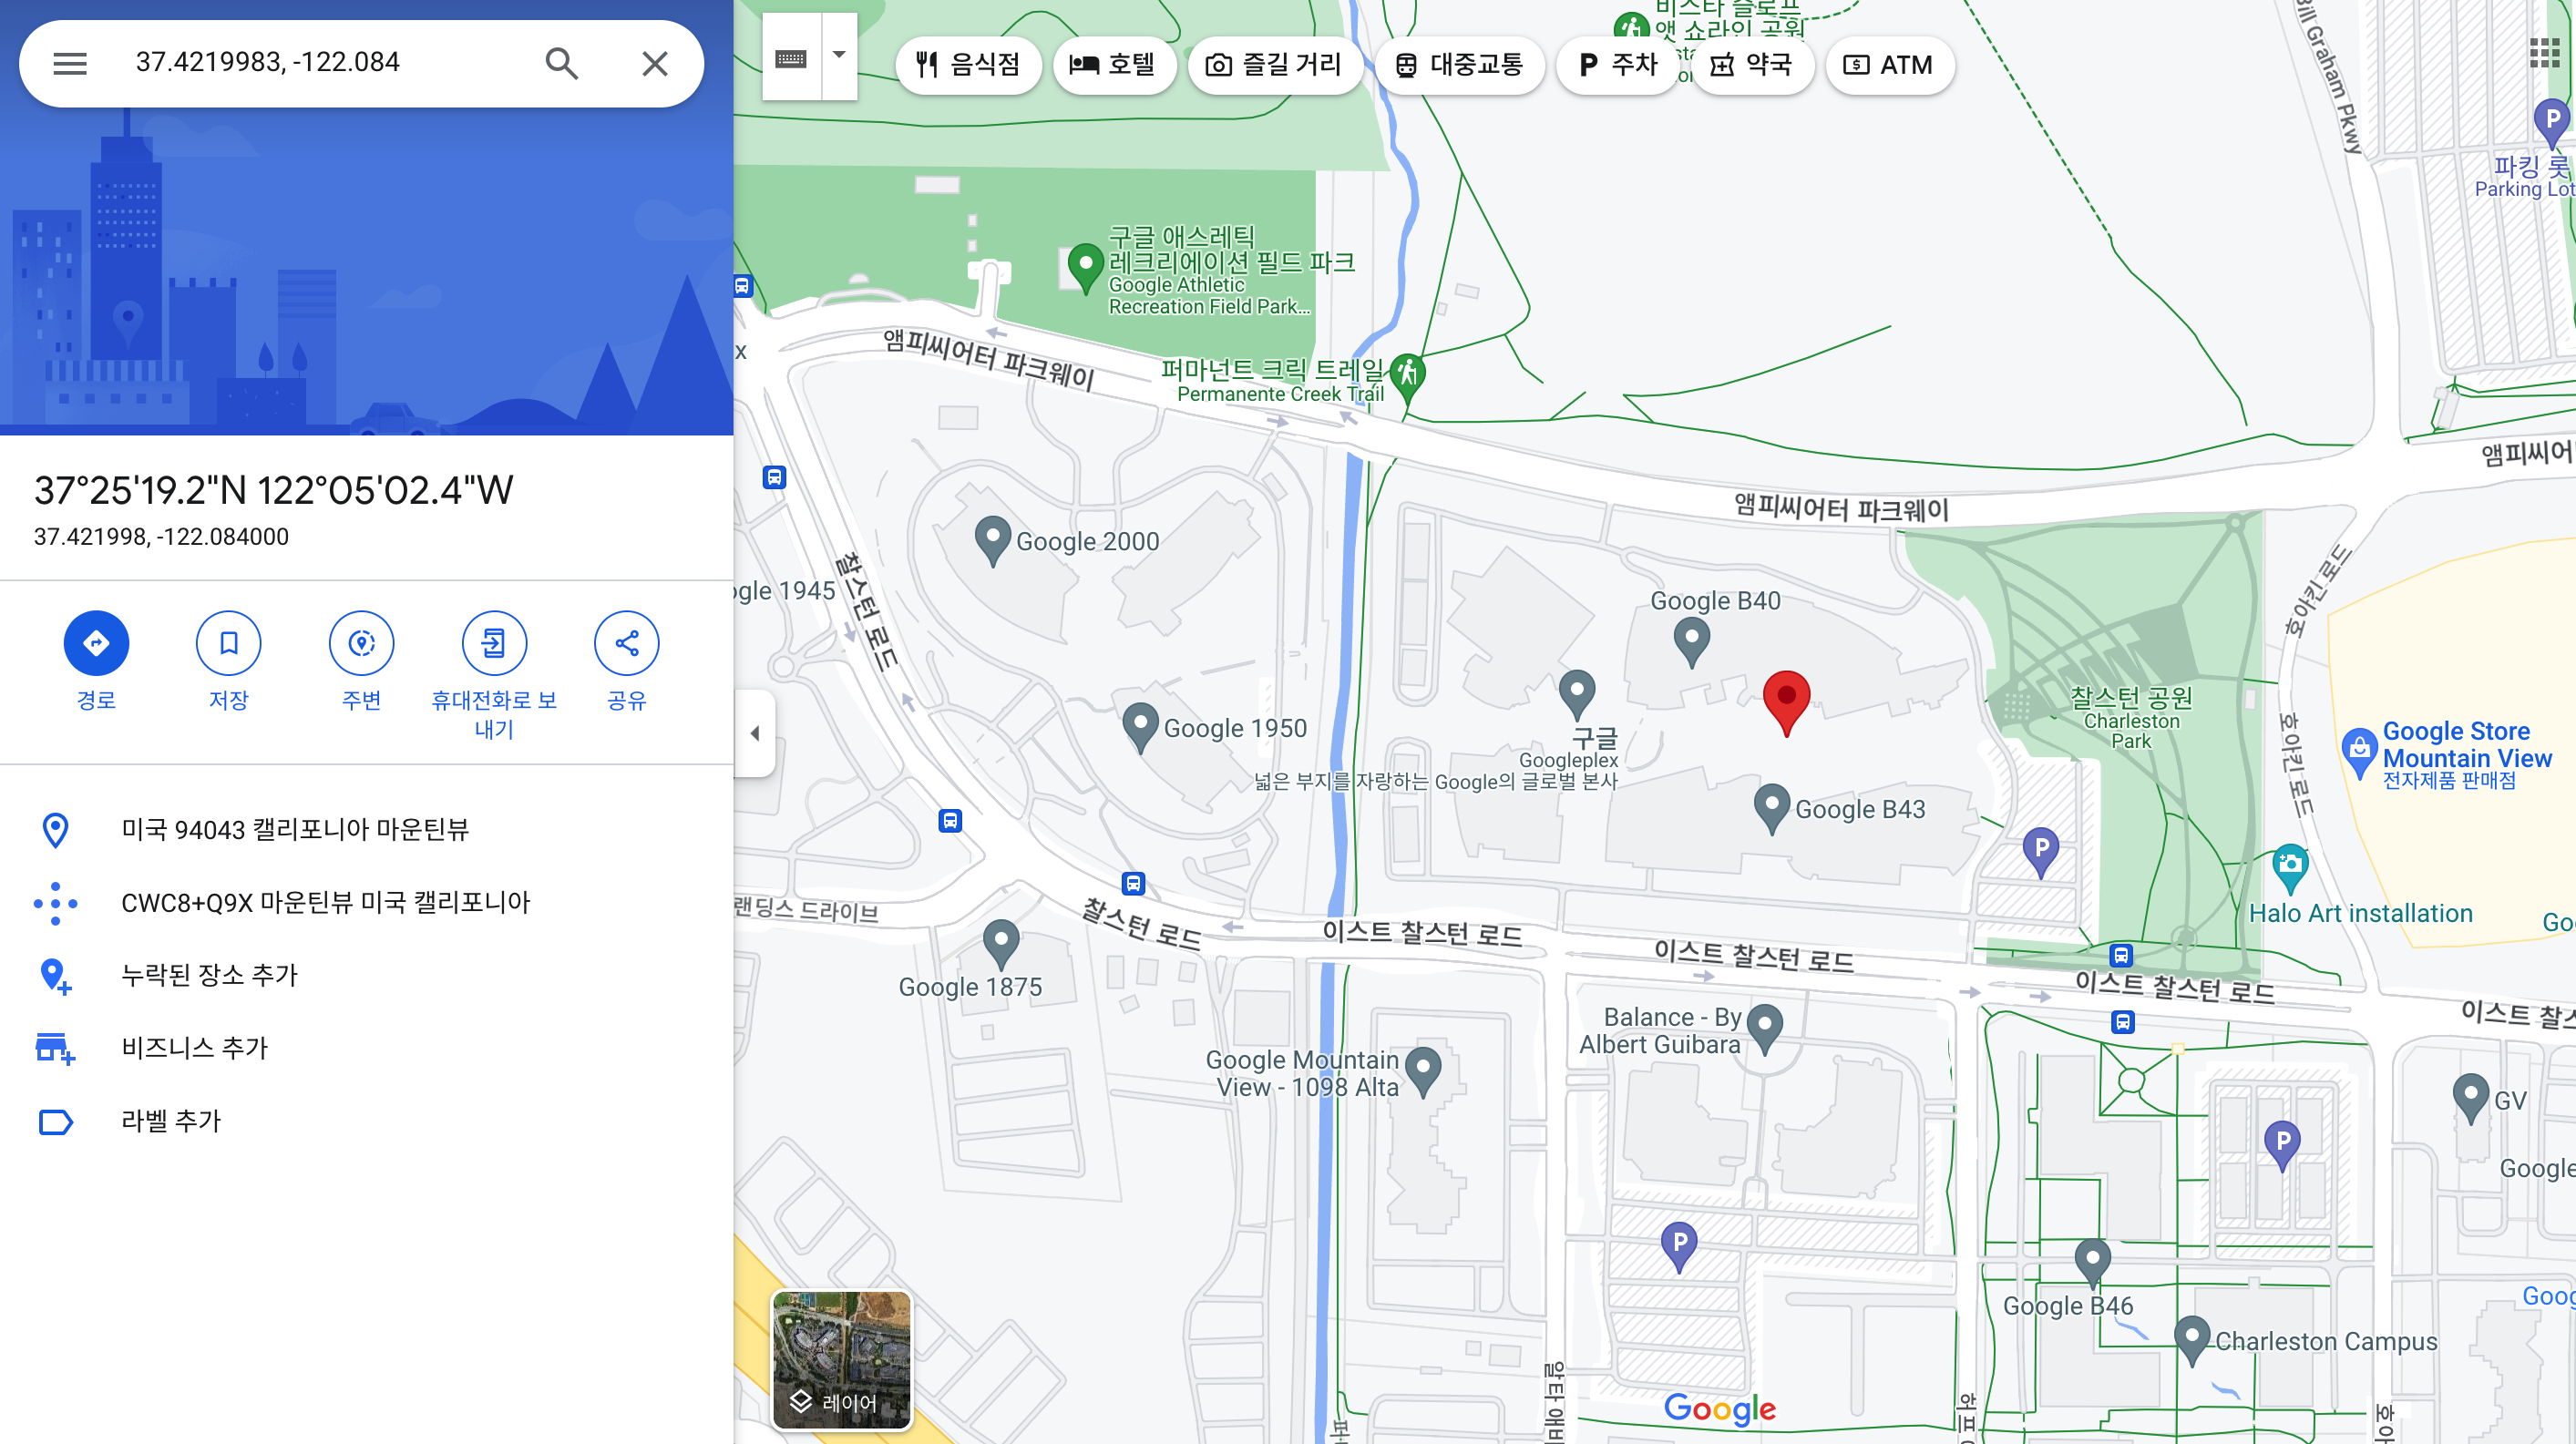
이렇듯 PC 개발 환경에서 위치 정보를 받아 오면 default로 구글 본사의 위치가 표시되는 것을 볼 수 있다.
APK를 생성하여 모바일 디바이스에서 앱을 실행해 보면 현재 자신이 위치에 있는 좌표 값이 나오는 것을 확인해 볼 수 있을 것이다. APK 생성 방법은 아래 포스트를 참고하였다.
RN - APK 추출하기 1편(Android Studio로 APK 추출하기)
Reference
react-native-geolocation-service - npm
React Native(Expo)를 이용한 GPS 위치추적 - 러닝 트래킹 앱 만들기
React Native Geolocation Service
리액트 네이티브 현재 위치 정보 가져오기, Getting current location with a react native geolocation service